As a food and interiors photographer, tethered photography has become a cornerstone of my process. Over time, I’ve realised that this one change in my photography workflow makes a huge impact—not just on shoot efficiency, but on image quality as well.
If you’ve never tried tethered shooting, or you’re curious about how it fits into a professional setup, here’s why it’s worth considering and how I’ve built it into my photography workflow.
1. Better Image Preview
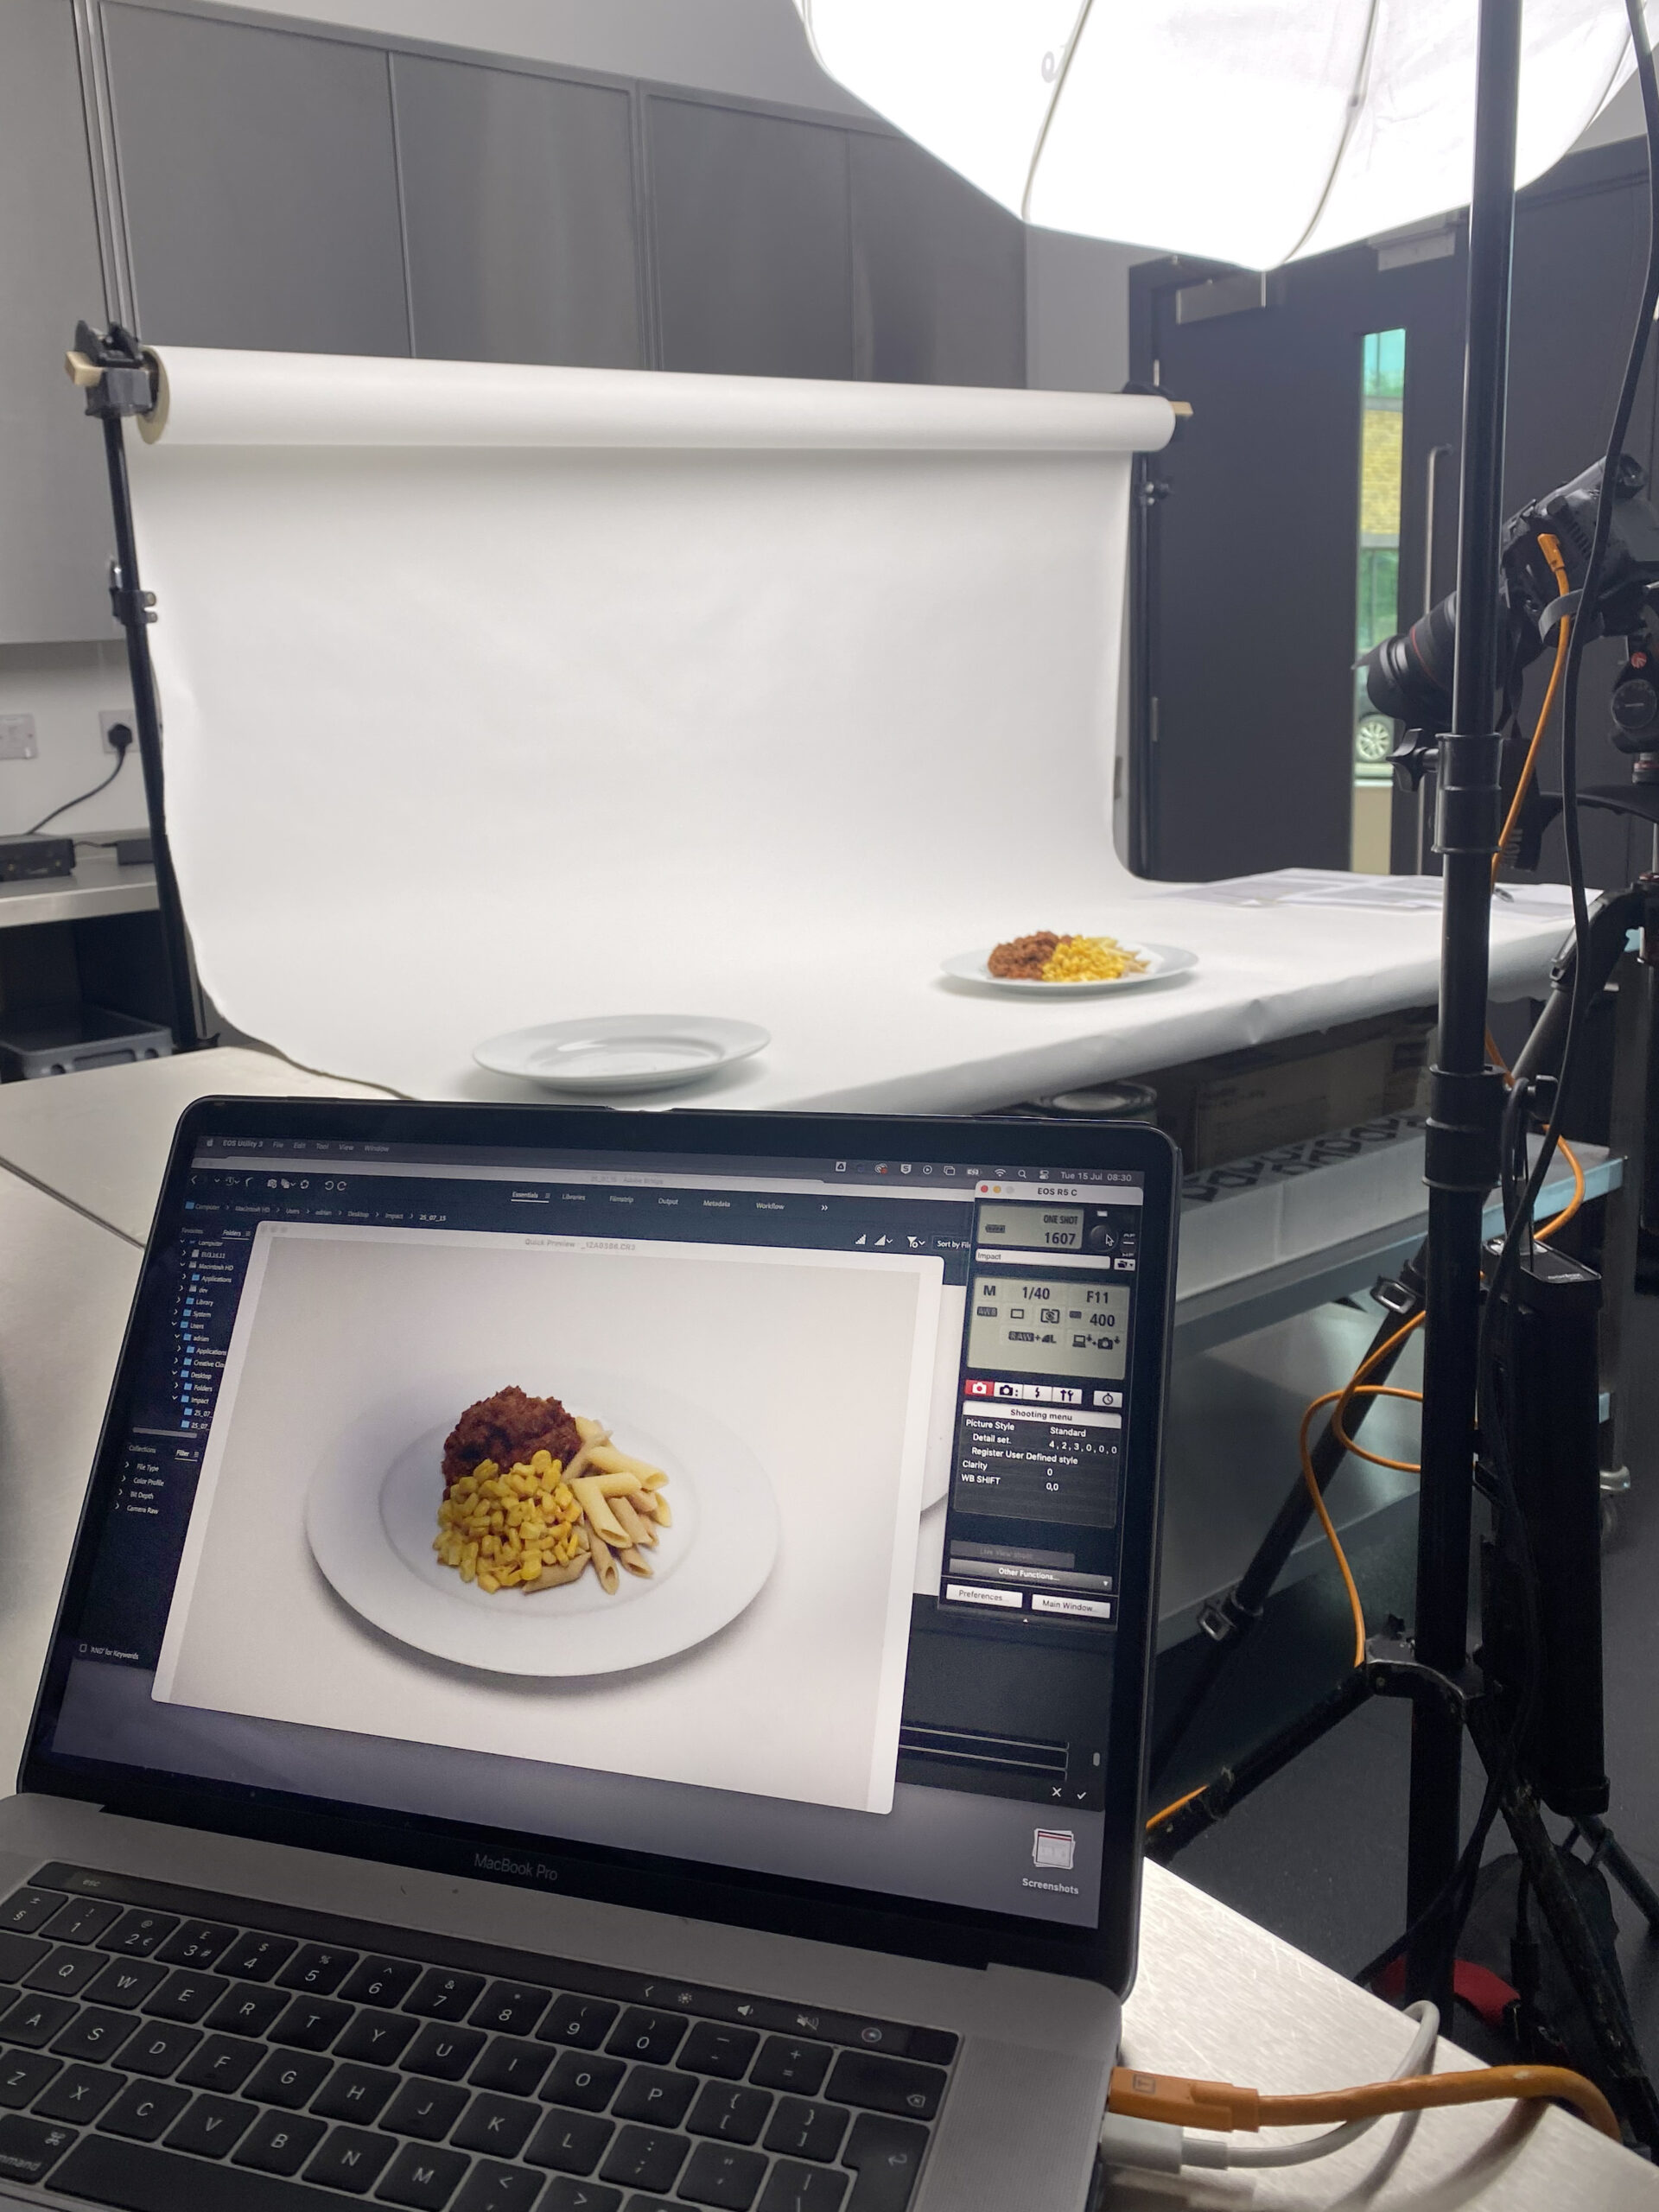
Relying on the back of your camera isn’t ideal for reviewing shots in detail. With camera tethering, I can view images instantly on a larger screen, allowing me to identify issues with composition, styling, or lighting immediately. That real-time feedback is invaluable, especially when working with detailed food arrangements or carefully styled interiors.
2. Precision Focus Every Time
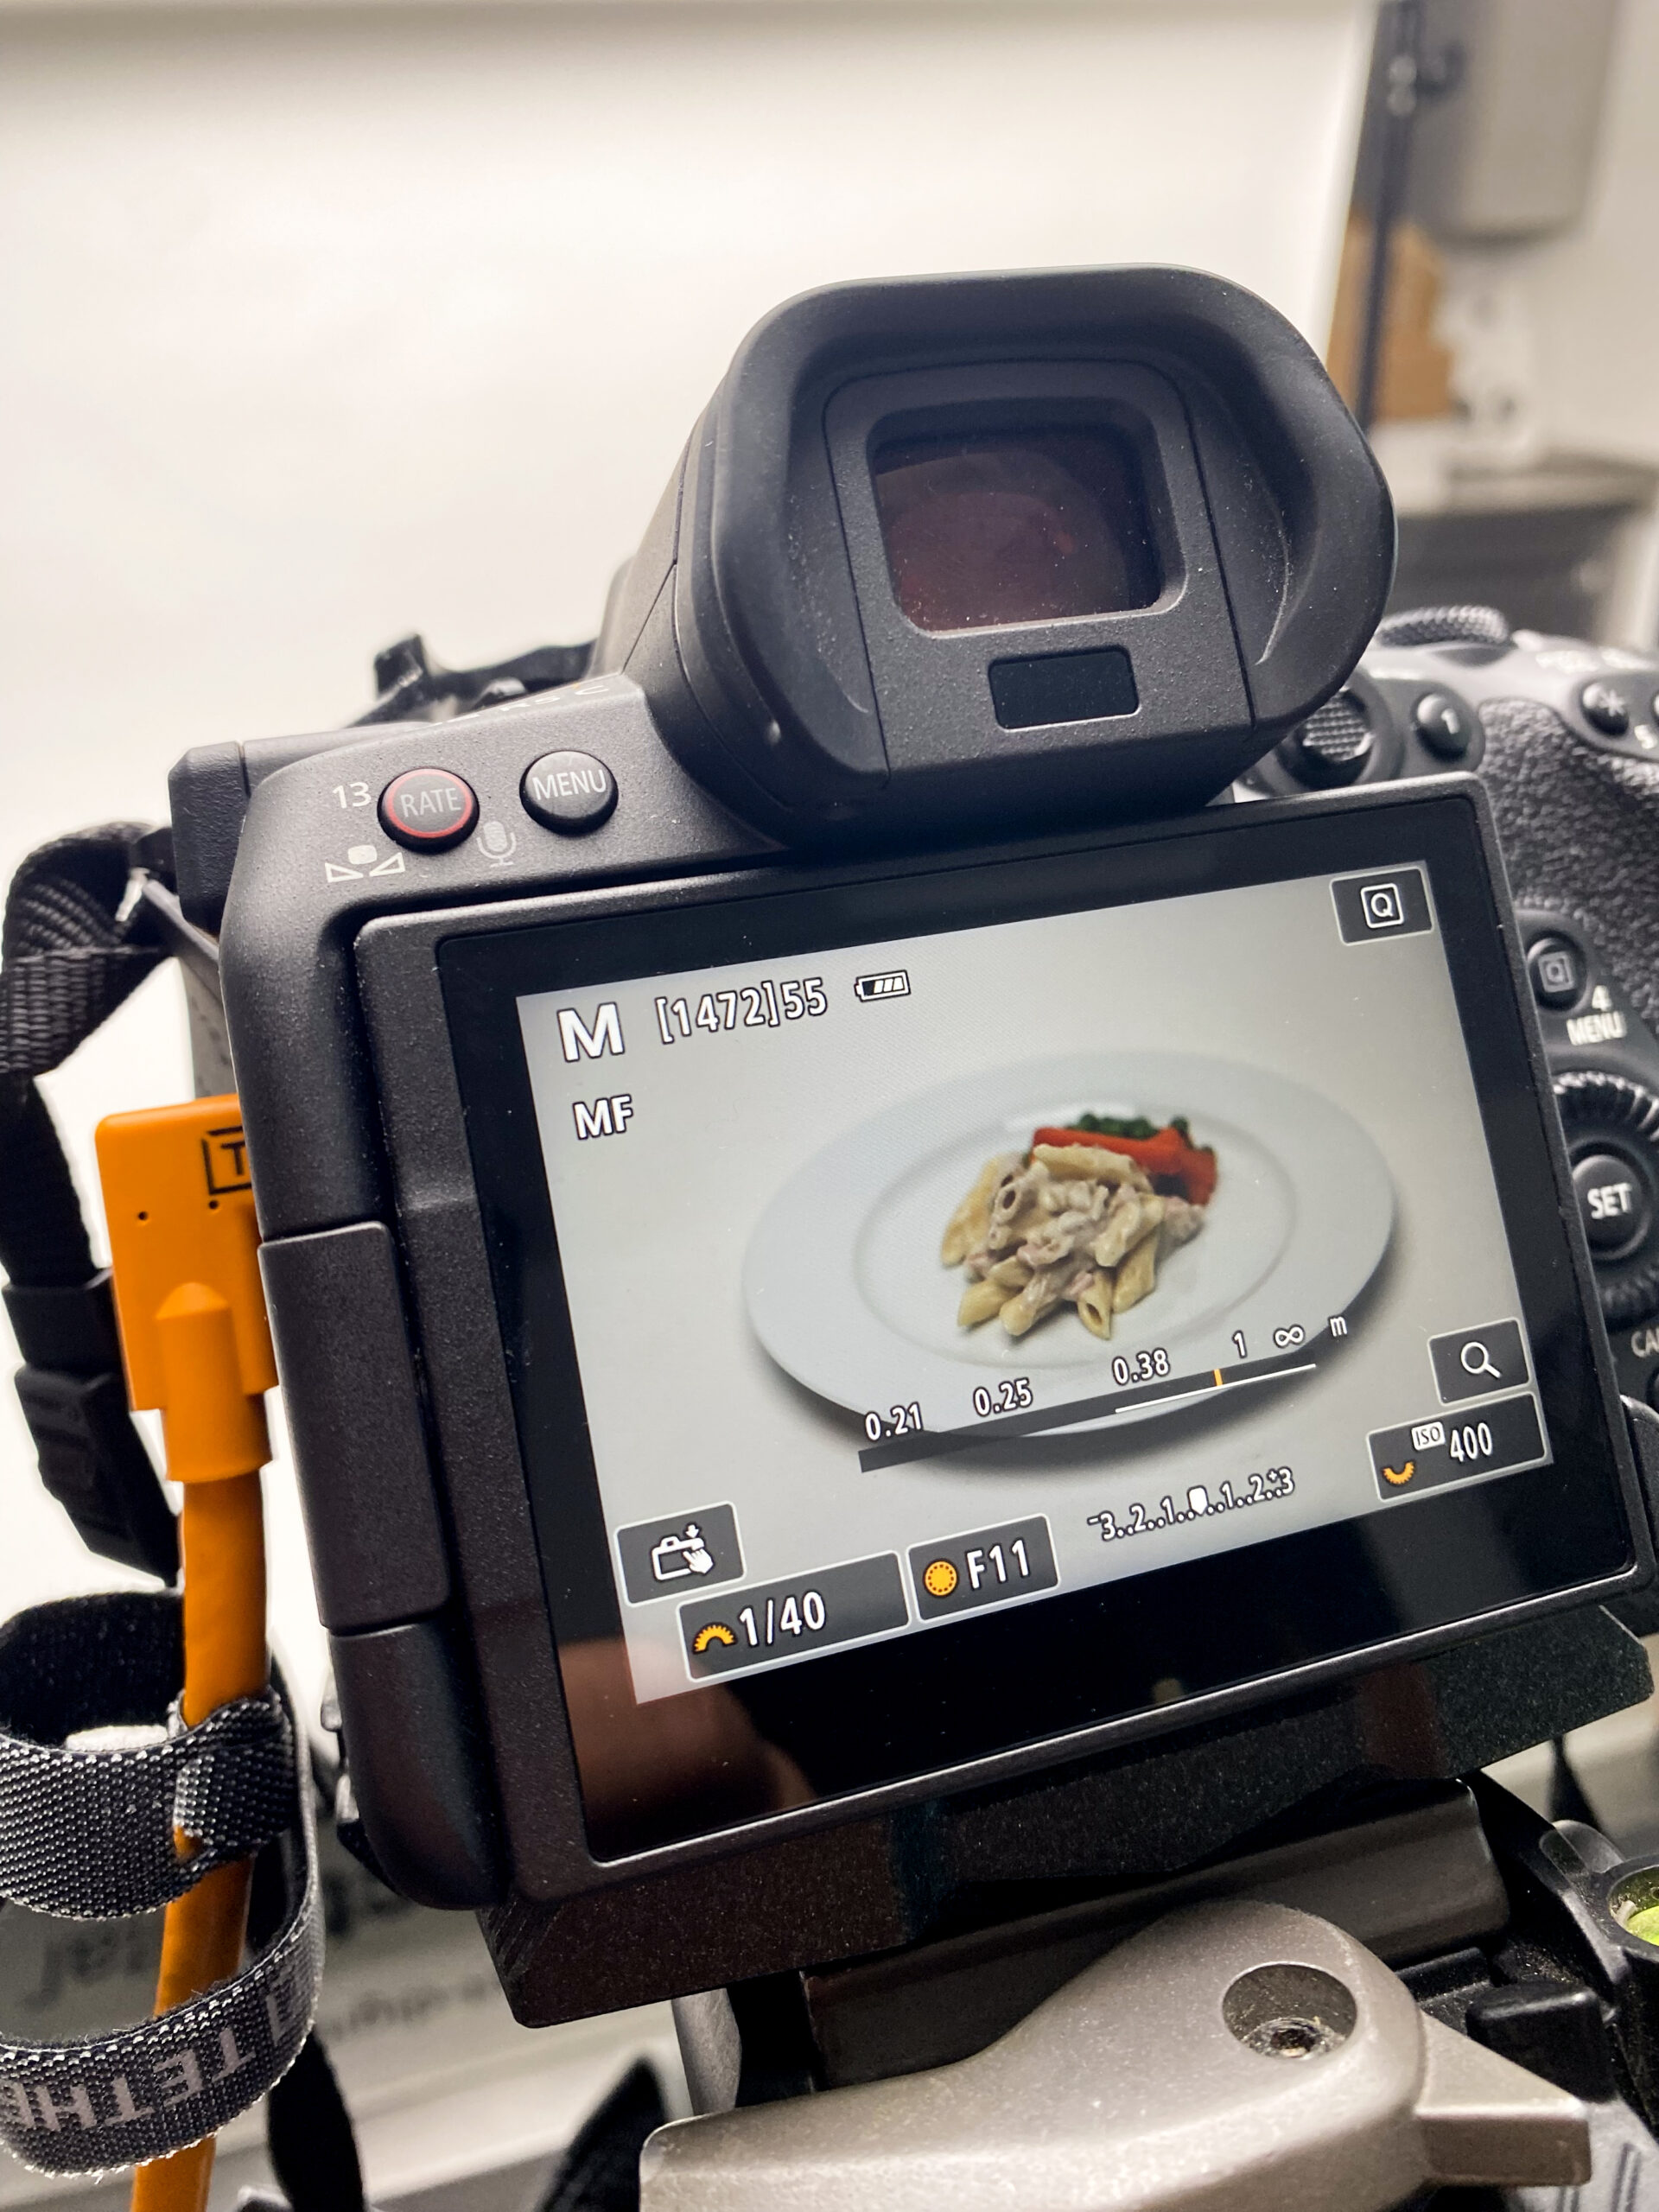
In both food and interiors photography, sharpness matters. Tethered photography allows me to zoom in on each shot to confirm that the focus is exactly where I want it—something that’s easy to miss on a small LCD screen (back of camera). It’s a small detail that can make a big difference.
3. Exposure You Can Trust
One of the major benefits of tethered shooting is the ability to accurately check exposure using a larger screen and histogram data. This helps ensure that I’m capturing all the tonal detail in both highlights and shadows; this is a must when photographing reflective surfaces or dynamic lighting setups.
4. Remote Control Means Stability
Many camera tethering tools also allow you to shoot remotely from your computer. This is especially helpful with interior photography, where long exposures are common. By avoiding physical contact with the camera, I eliminate the risk of camera shake—resulting in cleaner, sharper images.
5. Smoother Workflow On Location and In Post
Tethering also helps me stay organised as I shoot. I can rate images, apply presets, and even group shots by set or lighting style—all on the fly. By the time I get back to the studio, my selects are already sorted, which speeds up the editing process massively.
6. My Setup: Capture One, Lightroom, and Canon’s Software
After talking with other photographers, it seems like Capture One is the go-to for many when it comes to tethered photography software. It’s intuitive and reliable, and many prefer it for its excellent colour handling.
That said, I’ve also used Adobe Lightroom for tethered shooting, though I had trouble getting a consistent connection with my Canon cameras (I shoot with a 5D series and more recently the R5 C). To work around this, I use Canon’s EOS Utility for camera tethering. It works well, and by setting Lightroom to monitor the capture folder, I can still use it to manage and process my images, even if it’s not doing the tethering directly.
7. Personal Touch
A final advantage is that if the client is present on the shoot, they can see their work being created, which, from experience, they like and generate engagement. In addition to this, they also have the opportunity to modify the composition and be confident that they’re going to get the result they’re looking for.
Final Thoughts
Tethered photography has become a key part of how I shoot. It allows for better image control, helps me work more efficiently, and ensures that I walk away from each shoot with exactly the images I envisioned.
If you’re looking to elevate your photography workflow or just want to work smarter on location, give tethered shooting a try. It might feel like a small change, but it can have a big impact on your work and the final outcome of imagery.